TECHNICAL ADVANTAGES
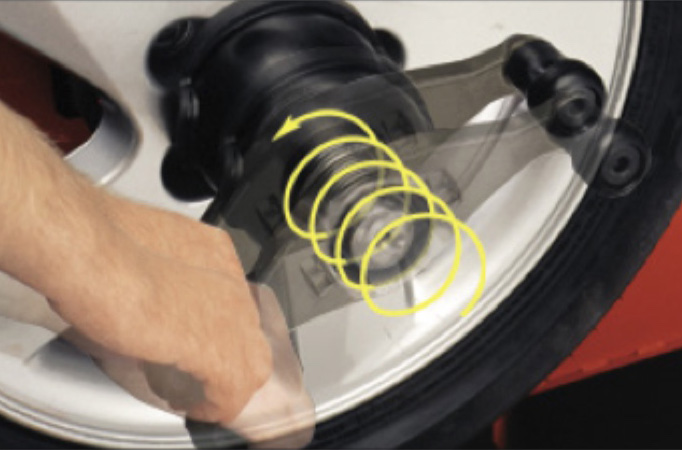
Automatic nut tightening
Before starting balancing process you must correctly install the wheel on the shaft.
In competitors’ machines, after a rim with the cone installed on the shaft, you need to hold the wheel with your left hand, and turn the nut with your rind hand until the disk touches the cup. The process consists of 10-12 revolutions more or less, what takes a lot of time, labor and gives not the best quality in the end (error due to the lack of a change in the position of the disk relative to the shaft). Then you should “tighten” the nut on the shaft with necessary effort by hand(depends on the mass of the wheel).
On our WB with a zero position of the boom distance, you need to put the wheel on the cone, put on the automatic nut fighting. After you should just hold on the wheel and the nut in your hands, simply pressing the pedal twice. The shaft will start rotating in the opposite direction until shaft touches the cup.

Auto choosing ALU and direct input
When you use traditional way of definition for location of weights, you cannot balance wheels from the first time.
You always have to add or cut off adhesive weights.
The actual place of installation of the weight may be sometimes significantly different from parameters of departure and diameter which were calculated before due to different from the actual profile of the disk and the conditional profile.
This situation creates imbalance and you must repeat balancing again.
If you want to balance from first time use direct input with ALU program. This program is automatically selected.
There are 2 ways of automatically choose of ALU program:
A. USER MODE
1) First weight is putting on the left plane, second adhesive weight paste on the right plane.
Operator always starts with ejecting the distance bar and put it into the place where the weight will be putted in the left plane. Then he put distance bar into the right plane and paste adhesive weight. Return the ruler into zero position in the end.
2) two adhesive weights. Operator always start with ejecting the distance bar and put it into the left plane where weight must be. He continues to ejecting distance bar to the place where he will put adhesive weights. After he put distance bar to the right plane and put adhesive weight. Return distance bar into zero position.
The screen will show the diameter of the rubber and the distance to the disk.
B. PROFI MODE
1) First weight is putting on the left plane, second adhesive weight paste on the right plane.
Operator always starts with ejecting the distance bar and put it into the place where the weight will be putted in the left plane. Then he put distance bar into the right plane and paste adhesive weight. Return the ruler into zero position in the end.
2) two adhesive weights. Operator always start with ejecting the distance bar and put it into the left plane where weight must be. He continues to ejecting distance bar to the place where he will put adhesive weights. After he put distance bar to the right plane and put adhesive weight. Return distance bar into zero position.
Parameters of correction planes recorded into the WB memory and available to operator screen. (These parameters will be different from parameters which are written on the rubber of the disk). Imbalance is minimized and you haven’t to repeat balancing again.

Automatic input of diameter and distance
Attention! There is one basic condition: all 4 auto’s wheels must have the same parameters (the same dimensions of the disk)
Press parameters of the first wheel (D1, L1), choose the setting mode of the correction weights.
You do not need to check parameters on the disk, you just need to push the barbell ad rest it into the plane and return it into zero position after sound signal. The diameter of the disk D1 and the distance L1 will be recorded into WB’s memory. Distance L1 is a distance between disk and body of the WB).
It depends on type of WB:
1) On the semiautomatic devices you need to measure the width by crown-compass, enter the +, – and select the balancing mode ALU. Computer will calculate diameter D2 and L2 itself.
2) On automatic WB you just use program «Automatic program selection»
Approach to the installation area
WB will automatically turn and stop the wheel in the weight putting area after the measurement of parameters (+-2 points from the ideal place setting or exactly ideal place – it depends from the wheel). Operator just have to install weight or correct the wheel angle by a few mm.
Use function of adjusting to the next after correction of the first plane. Just press the multifunctional pedal. WB will turn and stop the wheel in the area of installation in the second plane.


Basic and extended configuration: 3 and 5 cones
The less the angle of decrease in the functional pitch diameter of the cones used for wheel attachment to the balancing machine is, the less the errors are.
Our premium models have 40% less angle. Therefore, two more cones are required to service the same range of disks. These cones are included in the basic configuration Hollmanne 8300pi.
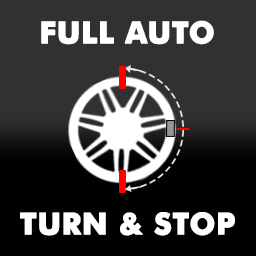
Exact approach to the place of installation on the weight (tracking drive)
WB will automatically turn and stop the wheel in front of the place of installation of the weight. The operator has only to install the weight.
Press multifunctional pedal once. WB will turn and stop the wheel in the area of installation in the second plane. Operator must just put weight in this place. WB will turn and stop the wheel in the area of installation in the second plane.

Flange kit for truck rims LUX
The adaptor is designed for balancing of 90% trailer trucks and trucks. It consists of three parts and is unrivalled among the manufactures from China and Russia. It has equivalents only among more eminent manufacturers from Germany, Italy, and USA.
We recommend it because of its quality and versatility. No cost saving is appropriate for the machines intended for wheels with weight over 120 kg.

Full machine warranty for 24 months
Our competitors provide no warranty for the attachments (such as cones, shafts, nuts, etc.) considering them as consumables.
We took a different road. We built up our own manufacturing line for the attachments and launched production of not only cones but also all quick release nut elements. As of today, we achieved such quality that the shaft and nut pair runs smoothly for more than 3 years, when operated according to the instructions!
Accordingly, we provide a warranty for the shaft and the nut as well.
Hollmanne – we offer reliability!
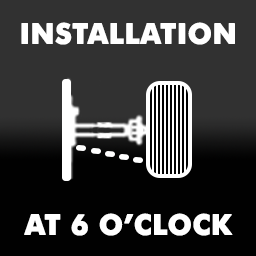
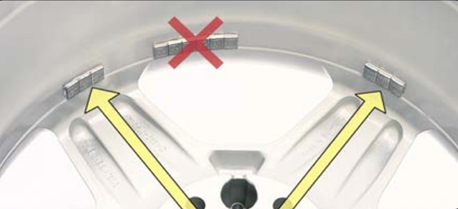
Installation of stick-on at 6 o’clock position
As you know, in order to install sticks-on at 12 o’clock position it is necessary:
– To put the wheel in position according to display the way that place of installation is situated in the very top above shaft.
– To mark this place (to color with a crayon or hold by finger.
– To put the wheel in the position which suits for survey and cleaning (operator looks down) – «5 or 6 o’clock».
– To clean the installation area from mud and glue marks from old sticks-on.
– To put the wheel at 12 o’clock position again to find accurate place for gluing.
– To install sticks-on as accurately as possible.
– To put the wheel in the position which suits for final stick-on gluing under pressure in order to save stick-on on its place during car operation season.
You will need much less efforts at position «6 o’clock».
To install the wheel in position according to display the way that place of installation is situated in the very bottom under shaft.
To clean the installation area from mud and glue marks from old sticks-on.
To install stick-on as accurately as possible and glue it under pressure at the same time in order to save it on its place during car operation season.

LED illumination
Diode illumination of internal part of a rim helps up to operator during all the actions with the wheel (input parameters, degreasing, weights installation, diagnostic of curvature and so on).
It is very important because light from the shop doesn’t come into the wheel directly. Our diffusers from led lamps don’t` blind our operators, but they perfectly cover internal plane of a rim.
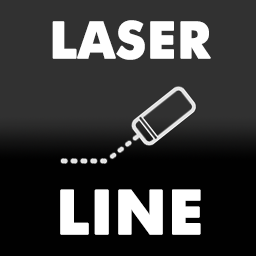
Laser navigation (line)
During working on WB without laser pointer there are cases when operator doesn’t see movement of his hands or wheel angle. So, sticks-on could be installed to wrong places. Additional balancing would be required.
Using laser line you barely mix the angle and distance installation because laser navigation pointer stops when replacement of the wheel has a place.
While navigation working operator can make mistake only in distance because WB doesn’t indicate exact point horizontally.
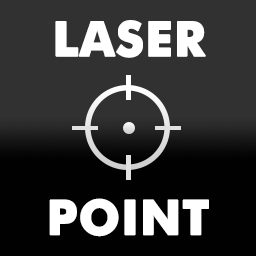
Laser navigation (pointer)
During working on WB without laser pointer there are cases when operator doesn’t see movement of his hands or wheel angle. So, sticks-on could be installed to wrong places. Additional balancing would be required.
Using laser pointer you barely mix the angle and distance installation because laser navigation pointer stops when replacement of the wheel has a place.
While navigation working operator sees exact point where to put stick-on.
Laser pointer has option for automatic replacement.
Laser navigation could speed up the process and improve the quality.
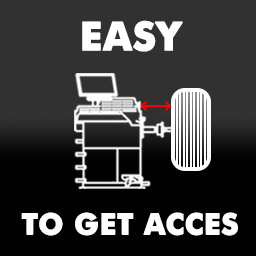
Large distance between machine body and rim
Have you ever seen that a rim nearly touches a machine body and installation of weight is uncomfortable because a hand couldn’t go between the machine body and the rim?
This option allows easily to get access to internal plane of a rim, to diagnose it on vibrocontrol stand, to work with big width wheels without additional attachments (for instance, set “Jeep”).

21″ LCD MONITOR
For maximum information value of the operating process, as well as for the capability to display any kind of data, our WB are equipped with a 21-inch LCD monitor.

Memorized settings (7 user accounts)
Our machines offer an enormous number of operating settings (over three pages, e.g. desktop background, selection of the first compensation plane, setting of electromagnetic brake properties, error zeroing, etc.).
Memorized settings and capabilities of creating separate accounts for every operator (maximum 7 user accounts) allow setting the machine up on a case-by-case basis, according to behavior of each operator, without any readjustment each time the operator, shift, or a vehicle is changed. All that is required is to press a hot key, changing the account in seconds, and load up necessary settings.

Moto mode
Almost all models of our machines are provided with a specific motorcycle wheel balancing program.
It implements a correction factor, when a motorcycle adaptor is used, to enter the parameters using a ruler and switches over to a basic static balancing mode (this is the way 90% of motorcycle wheels should be balanced).
The machine having this feature means that our engineers did a great job with the mechanical components of the machine as well. Operators may use motorcycle adapters to attach motorcycle wheels to the shaft of the balancing machine, produced by the leading global manufacturers, such as HAWEKA (Germany).
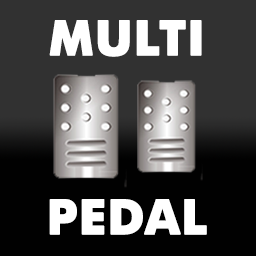
Multifunctional pedal
Normally any kind of wheel balancing machines are controlled by keyboard. But some advanced manufacturers use additional control methods like pedals.
Our multifunctional pedal makes several functions what helps to save time and forces. What is the most important advantage of pedal that it helps to release hands.
Operator can prepare weights for installment or install weights on the wheel. He can change functions quickly not choosing them from long list in menu not only “hotkeys” but also “hot pressings” pedal.
Pedal examples:
1) Double touch: bar in zero position – automatic starting of tighting of a nut.
2) Double touch: bar in extended position with installed roller of vibrocontrol – start of diagnostic of a rim on chart.
3) Pressing and holding of pedal – forced turning electromagnetic break on (if the wheel doesn’t rotate.
4) Pressing and holding of pedal – emergency stop and cancelation of rotation (if the wheel rotates)
5) One single touch – run of function of turning up to next position of weight installation (in balancing mode).
6) One single touch – run of function of turning up to next border of rim damage (in vibrocontrol mode).

Off-Roader Cones Set
The “Off-Roader” package is used to increase the cup and balance wheels of light trucks and large vehicles with large center bore – standard configuration Hollmanne 8300, Hollmanne 8300p.

Capability of operation without any button clicks
As is known, the operator picks the weights to be used for compensation and setting (cutting of the desired weight from the tape) through some manual operations.
We made an effort to implement a set of features to our machines, so that no button clicks are required.
The machine independently perceives the actions to be performed automatically, whereas the time made can be used by the operator to prepare the balancing weights or get ready to other customers, going to no efforts to push a lot of buttons.
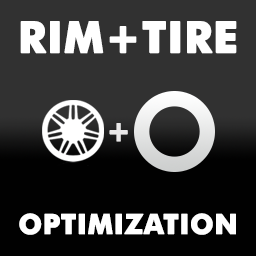
Optimization of the disk out-of-balance using a tire
It is commonly known that a tire and a disk can be detached and measured for out-of-balance conditions separately. The number of the weights required may be improved (reduced to a minimum), saving the weights and maintaining equal mass of the wheels accrued to the axes.
Perform a number of operations according to the machine instructions, and you will get the angle the tire is to be turned about on the disk to compensate their out-of-balance conditions with each other, as much as possible.

Performance and weight consumption statistics
The machine uses names of user accounts and memory to gather statistics on performance of each operator separately and in total.
For example, an efficiency factor, actual number of the wheels balanced, weight of the clip-on and adhesive weights used, etc. can be determined.

Pneumatic clamping
This option is using special for speed up the calibration process. You will get more balanced wheels in less time. Just put the wheel on the cone, put the adapter on the shaft and press the pedal – the wheel is pressed! When you finish balancing – just press the pedal – the wheel is given back, you just have to put the adapter in a special reserved place on the cover.
Quickly! Simple! Reliably! Excellent!
![]()
Sending the operational reports to the customer’s e-mail
Getting tired of visiting your network business offices only to check the debit and credit book? Found out that your employees deceived you?
This feature is for your benefit! The machine can automatically send an operational report (complete statistics) to your e-mail (daily, weekly, monthly). You need only to check it against the actual report submitted by the personnel!
And here you go… You’ve got questions, and books don’t balance.

Sonar Width Sensor
This sensor can automatically read the width. You just need to lower cover, everything else will do WB.

Start after putting down the cover
The main purpose of the cover is protecting from dirt flying from the wheels and also can be useful for:
1) To measure the width with sonar (put down the cover).
2) According to safety recommend, the measurement should be started only after putting down the cover.
If operator understand all this, he can use START BUTTON. Also there is another option. Measurement will start after putting down the cover.
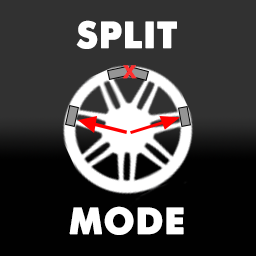
Split mode
Program used to split the adhesive balancing weight (Split):
The Split mode is used for balancing the wheels with high-quality light-alloy disks to maintain the wheel appearance by means of the balancing weights mounted behind the rim spokes so that they cannot be seen from the exterior.
The Split program may be used only for those weight mounting schemes when the outer out-of-balance compensation plane is behind the spokes, i.e. for ALU^ and ALU3P. It splits the balancing weight into two parts so that both parts are behind the spokes.
The shortest time of full measurement cycle
Our stands have powerful engines and special SPEED mode. At this mode WB works idle (there is no draft with engine during measurement). That allows to reduce time of full cycle (more, than 5 seconds for all stages).
Starting run
Measurement
Breaking
Choosing place for weight installation.

Touch Panel
The first step to automation of operating process was the incorporation of touch control panels into design of the wheel balancers.
This approach for entering and counting information is still relevant and is used in budget wheel balancers.
More expensive wheel balancer models are currently equipped with a 21-inch LCD monitor.
Vibration control
Diagnostic of a rim curvature with recommendations for fix
Fix a disk on the shaft, using this function and install special roller on the distance. Operator can easily check the physical curvature of the disk. the roller in one of the diagnosed planes and press the pedal twice and the diagnostics of the disk curvature will begin on the screen.
We advise you to use this function before each balancing and show the owner of the car, greatly increases the likelihood of loading the work stand for editing disks.
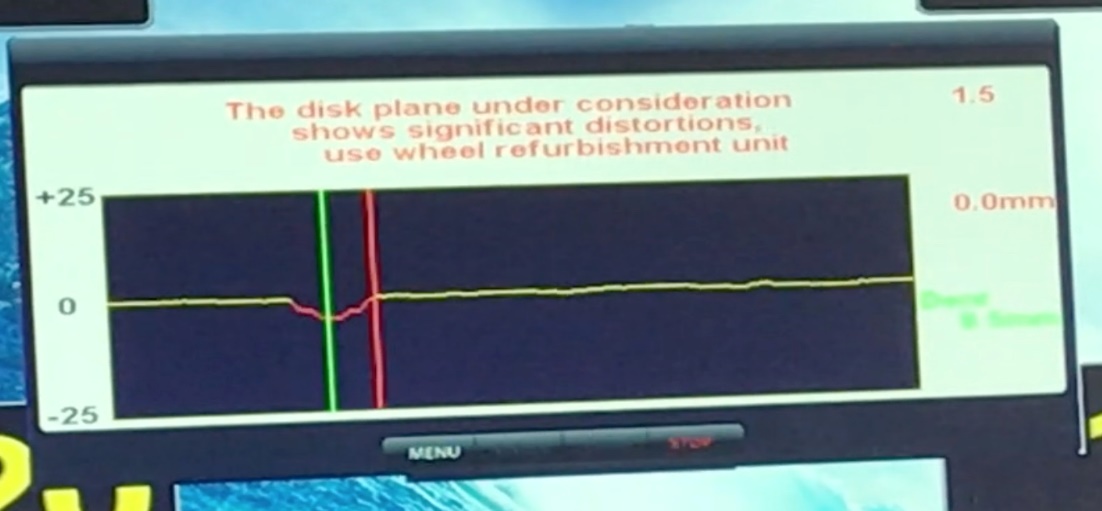

Visual inspection of wheel runout
The disks can be distorted after being used on a rough road or due to a head-on crash in high gear through the driver’s mistake. This may lead to the fact that even balanced wheels transmit vibration to the vehicle body.
Visual inspection of the disk runout takes time (our machines balance wheels in no time and the operator is unable to estimate the disk and tire state by sight) and high rotational speed (much higher than the average rotational speed during balancing).
Visual runout inspection feature accelerates and extends rotation of the wheel, switching on local lighting for convenient visual diagnostics. Rotational data retrieved when this feature is enabled are not considered in the statistics.

Voice guidance
Sometimes customers of tire changers and car services don’t understand what operator does and they ask different questions, disturbing him.
Our WB have options of voice guidance, what makes customers to come dawn and trust to operator better, especially when they hear: «The wheel is balanced».
An easy lift with manual or automatic jack (up to 200 kg)
Getting tired of dismantling large wheels up to 200 kg and carrying them to the machine and back with great efforts?
We are uniquely qualified to supply a trolley for truck wheels as a part of the basic configuration.
The operator can easily dismantle the wheel from the truck and transport it to the balancing machine or transport the wheel in a trolley from the tire fitting station and put/take the wheel on/off the balancing shaft without taking it off the trolley.
Those who gave it a try are not willing to buy the machines by other manufacturers, since this feature is included in the basic configuration only in our machine (as far as we know).